Bore sighting a red dot pistol, a crucial step in firearm preparation, streamlines the zeroing process, enhancing accuracy and efficiency. Utilizing a laser bore sighting kit and essential tools; shooters can align their optics with the firearm’s bore before live firing. This step-by-step guide simplifies the procedure, ensuring a precise initial zero.
A Step-by-Step Guide: Bore Sighting A Red Dot Pistol
Step 1: Gather Necessary Tools
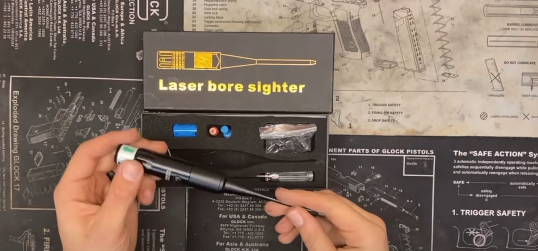
- Laser bore sighting kit
- Firearm

- Target (daylight laser target or black paper)
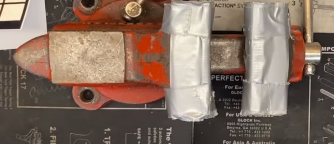
- Stabilizing device (e.g., vice, sandbag)
- Multi-tool (preferably from the optic’s case)
Step 2: Set Up the Firearm
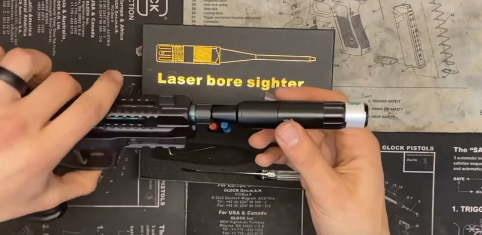
- Choose the Right Attachment: Select the appropriate attachment from the kit based on your pistol’s caliber.
- Adjust the Diameter: If needed, unscrew or screw the attachment to adjust its diameter for a snug fit in the firearm’s barrel.
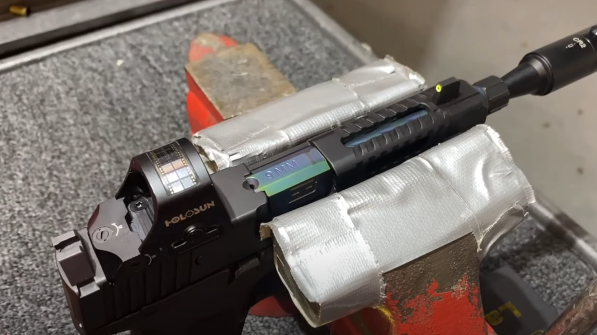
- Stabilize the Firearm: Mount the firearm securely using a stabilizing device, ensuring it remains stable and immobile.
Step 3: Laser Bore Sight
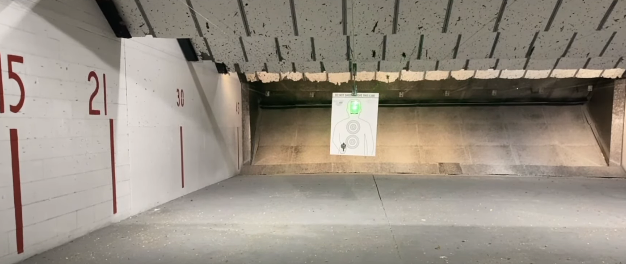
- Insert Laser Bore Sighter: Place the laser bore sighter into the firearm’s barrel.
- Turn On the Laser: Activate and project it onto the target downrange.
- Center the Laser: Adjust the laser, if necessary, to center it on the target at the correct distance (feet or yards).
Step 4: Align the Optic
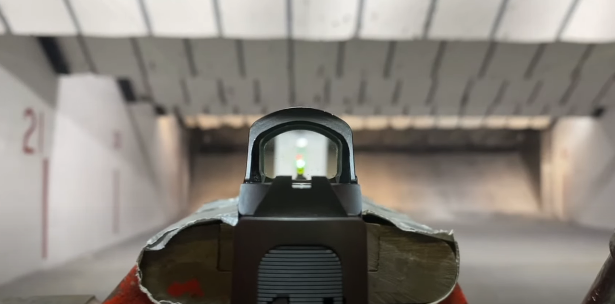
- Observe the Red and Green Dots: You will see a green dot (laser bore sighter) and a red dot (optic reticle).
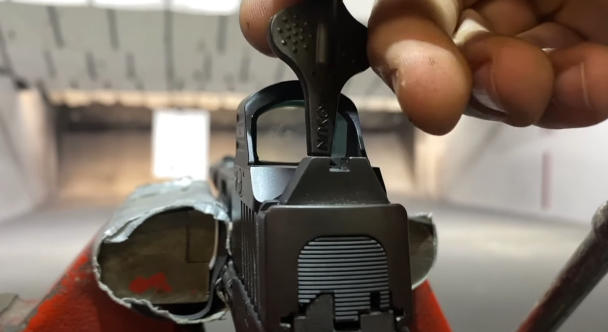
- Move the Red Dot: Slowly align the red dot directly on top of the green dot using the multi-tool.
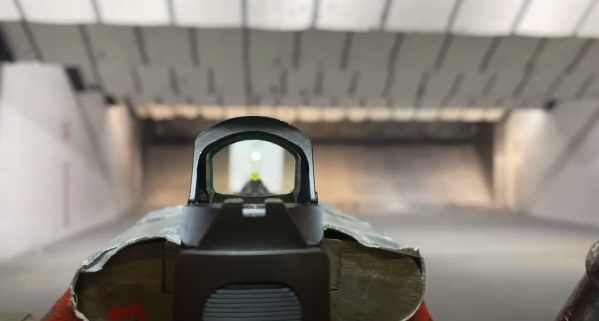
- Focus on the Green Laser: Ensure that only the green laser is visible, indicating that the reticle aligns with the bore’s center axis.
Step 5: Confirm Zero
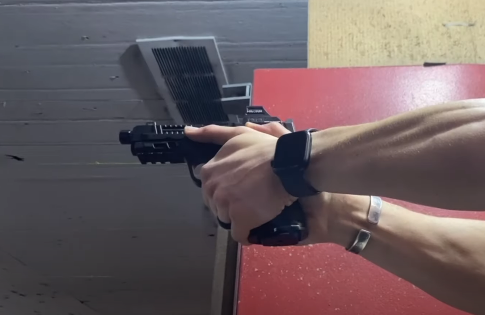
- Fire the Firearm: After aligning the optic, confirm the zero by firing the firearm.
- Check for Accuracy: Evaluate the shot placement to verify that the firearm is accurately zeroed.
Here you can find a Professional Laser Bore Sight Kit Multiple Caliber for your gun.
Advantages of bore sights
- Improved Accuracy: Bore sighting provides a preliminary alignment of the firearm’s sight with the bore, ensuring a closer correspondence between the point of aim and end of impact.
- Efficiency in Zeroing: The process significantly reduces the number of shots required to achieve a precise zero, saving time and ammunition.
- Optimization for Red Dot Optics: Bore sighting is particularly beneficial for fine-tuning red dot optics, streamlining the zeroing process for enhanced performance.
- Enhanced Shooting Confidence: Shooters can trust that their initial shots will be close to the desired target, instilling confidence and facilitating quicker, more effective adjustments for a consistently accurate firearm.
Disadvantages of the bore sight
- Limited Precision: Bore sighting provides a rough alignment but may not achieve the precision of more advanced sighting methods, potentially requiring additional adjustments.
- Environmental Influences: Factors such as Wind, lighting conditions, and an unstable shooting platform during bore sighting may impact the accuracy of the zero.
- Firearm-Specific: The effectiveness of bore sighting can vary based on the firearm’s design, and certain guns may not benefit as much from this method.
- Manual Intervention: Bore sighting often requires manual adjustments, and human error in the alignment process may introduce inaccuracies.
- No Substitute for Live Fire: While bore sighting helps with the initial alignment, it does not replace the need for live firing to confirm and fine-tune the zero.
Now you know how to bore sighting a red dot pistol. You can read our comprehensive buyer’s guide on Glock laser lights.
Last thought:
Bore sighting a red dot pistol proves invaluable in optimizing firearm accuracy. Despite some limitations, it significantly reduces the time and rounds needed for zeroing, fostering shooting confidence. By understanding its advantages and drawbacks, enthusiasts can leverage bore sighting to enhance their shooting experience and achieve consistent, reliable accuracy.